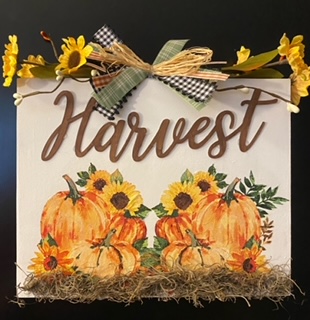
Do you love fall as much as I do? I love everything about it, from the crisp cool air, to the leggings and boot weather, to the beautiful colors and pumpkin everything. Did someone say pumpkins??? I love to decorate in the fall with pumpkins, both real and decor pieces. This Kathy Creates craft kit is just perfect for fall decor. You can dress this up for an elegant piece or paint it orange and paint a face on it to make it whimsical Halloween decor.
Items Needed:
- Kathy Creates Pumpkin craft kit
- Paint
- Antique Wax (I used Behr Dark Wax)
- Americana Decor Cream Wax in deep brown
- Various Ribbon
- Raffia
- Twine
- Beads
- Hot glue gun
- Sanding block
Start with painting your pumpkins. I painted the large one with a dark teal and the small one with a off white. I used a chalk paint and an old stiff paint brush and was able to create a little texture in the paint. I used that to put the “sections” in the pumpkins. I tried to follow the lines of what a natural pumpkin would have. Once the paint dried, I used the antique wax and lightly followed the same lines I had just painted. Immediately after painting on the wax, I took a rag and wiped it to get the distressed look I was going for. Make sure you wipe in the same direction as it was applied. I then lightly sanded the pumpkins in various places to give it the distressed look that I love. I then glued the pumpkins together slightly off set. Next, I used the Americana cream wax on the hang tag and “stained” the hang tag.
Time to make the bow
I love how a bow can take a project to the next level. As you know I love buffalo plaid so naturally, my bow will have buffalo plaid ribbon. I also used a light tan ribbon with polka dots. To start the bow, cut a piece of each of the ribbons approximately 15 inches long. I like to dove tail the ends of the ribbon. To do that, fold the ribbon in half and cut from the the outside bottom edge up to the center of the ribbon as shown below. Repeat this on both ends fo the ribbons. Take each piece of the cut ribbon and fold in approximately thirds and stack on top of each other.
Next, take a piece of raffia and separate it into thinner pieces. Line up the ends of the raffia and fold back in forth until you reach the end of the raffia. Take the twine and tie around the center of the raffia. Lay the raffia on top of the stacked ribbons with one side of the twine up and one down, flip the whole thing over and tie tightly.
Next, thread the beads onto the twine used to tie the bow and tie the hang tag on. Glue the bow with the beads and hangtag onto the pumpkin. The last step is to glue the two blocks onto the back to allow it to stand up.


Now sit back and enjoy your beautiful piece of fall decor. The kit can be purchased by clicking the link below.
Happy crafting,
Kathy

Fall Holiday Pumpkin Kit
Looking for the perfect Thanksgiving or fall themed crafting kit.
You will be able to brighten your Holiday decor with this versatile kit and your imagination. Create the perfect centerpiece, wall hanging or door hanger that will match your home decor and color scheme of your home!
This kit contains:
-
- 1 – 8 inch wide pumpkin.
…


